The Social Squared Online Site-to-site migration tool allows you to migrate Social Squared Lists and Document Libraries from one tenant or site to another tenant or site. The migration is a four-step process:
- Export content and user information from the source location
- Retrieve user information from the destination location
- Map user accounts
- Import content to the destination location
Notes before you begin the migration process:
▶️ In the source instance of Social Squared, it will be best if you can ensure that all posts have been moderated by the respective moderators, if you are using the moderation feature. This is because the moderator accounts might be different depending on how you map the users in Step 3, and you might end up with unapproved pending posts. You can get a list of posts that are pending moderation by creating a view of the SS_Posts list where Visible=No and Deleted=No.
▶️ You will need to have the Social Squared SPFx app installed in the destination tenant.
▶️ You should not have an existing Social Squared instance in your destination location (site). If you do, the content will be overwritten by the migrated content.
▶️ You will need to add the appropriate user accounts individually as members of the target site's M365 Members group or the site's SharePoint Members group before executing Step 2. You only need to add the users that correspond to the users from your source location - that is, the users to which you plan to map the source users who had participated in the forums.
Especially when migrating from one tenant to another, the user accounts will be different, so they must be mapped so the posts appear to be from the correct people, and so the correct people receive notifications in the new forum instance. When migrating from one site to another within the same tenant, it may be that users are all the same, but it's also possible that they aren't the same, so you will still need to perform user mapping.
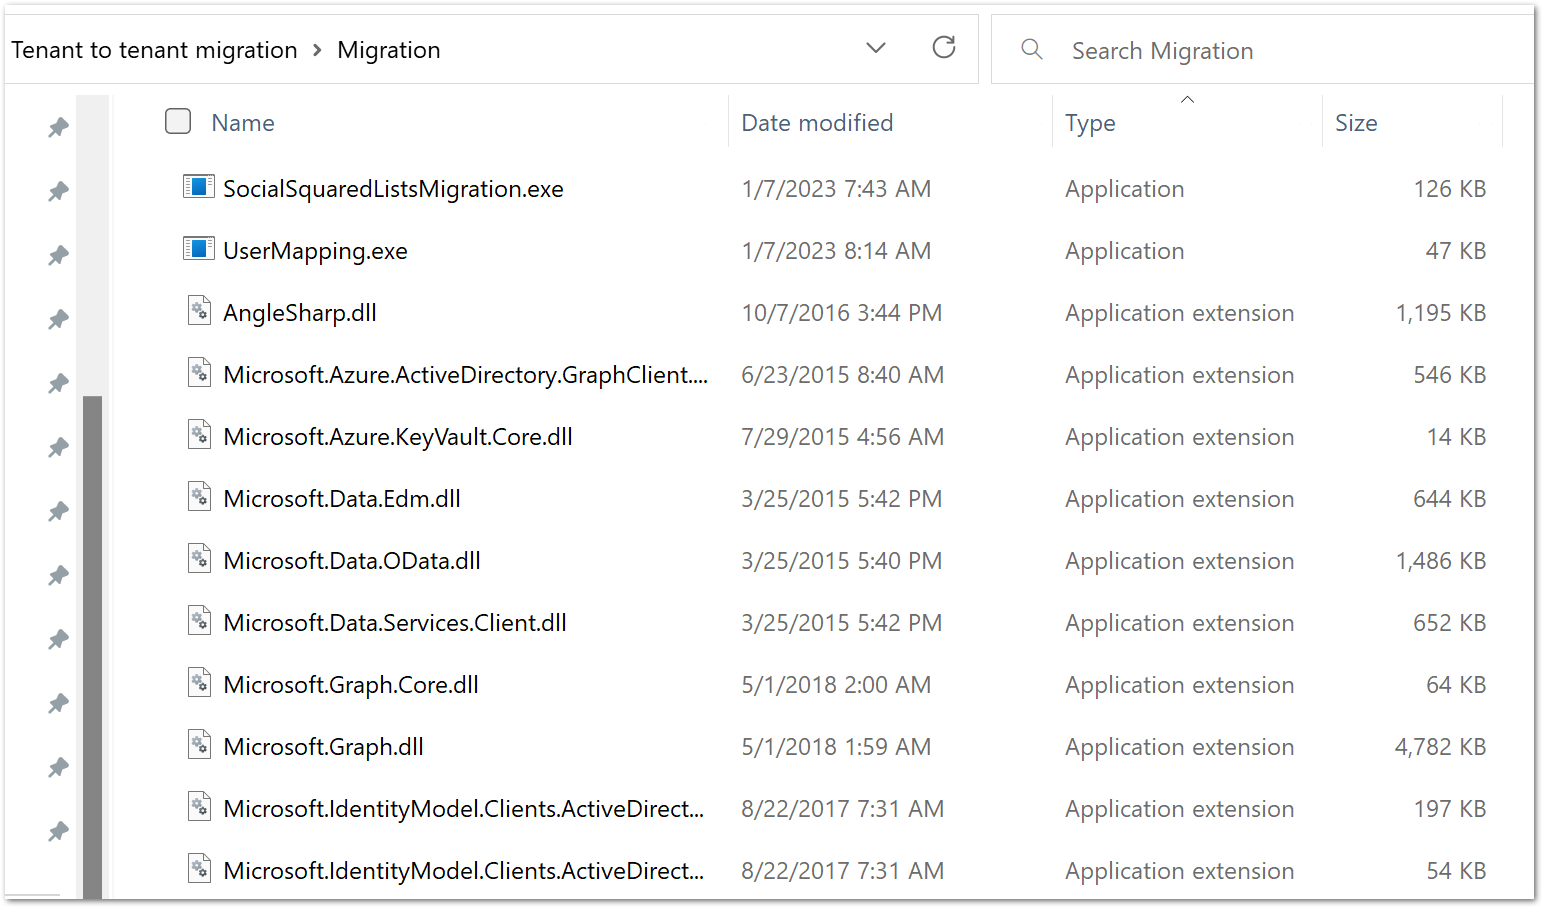
▶️ Download the migration tool from the Lightning Tools website. Unzip the Migration zip package to anywhere on any PC that's connected to the internet. Do not rename the Migration folder. The package includes a number of supporting files, and two application (.exe) files: SocialSquaredListsMigration and UserMapping. You may wish to sort the Migration folder by Type, so the applications are at the top.
Step 1: Export Social Squared Online content and user information from the source location
Double-click on SocialSquaredListsMigration to run it. The application will open in a new window with a cursor below Step 4.
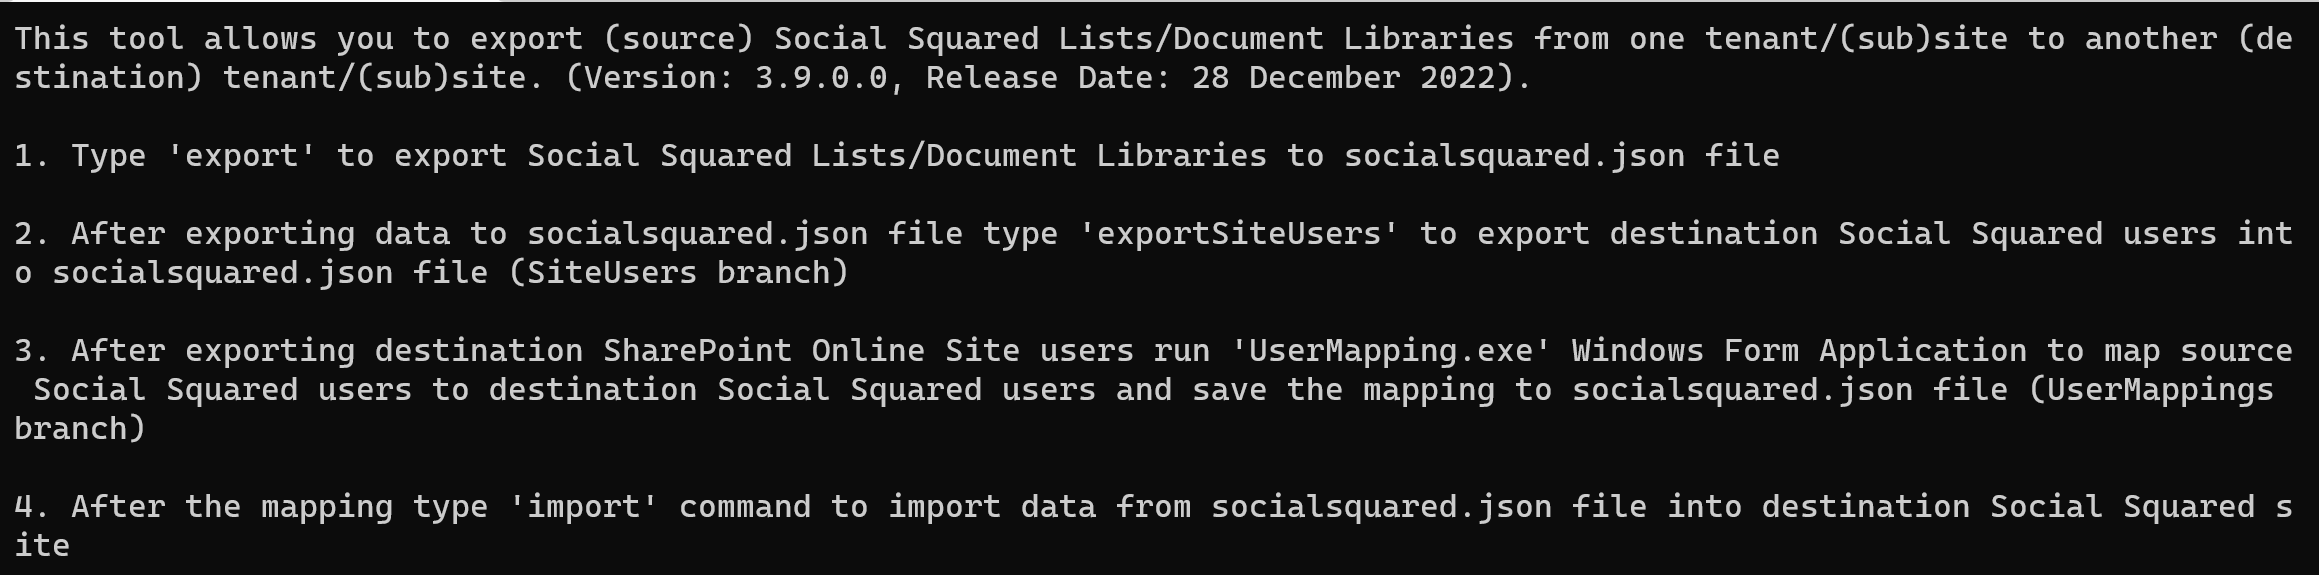
You will export Social Squared Lists and document libraries and their content by running four commands in sequence.
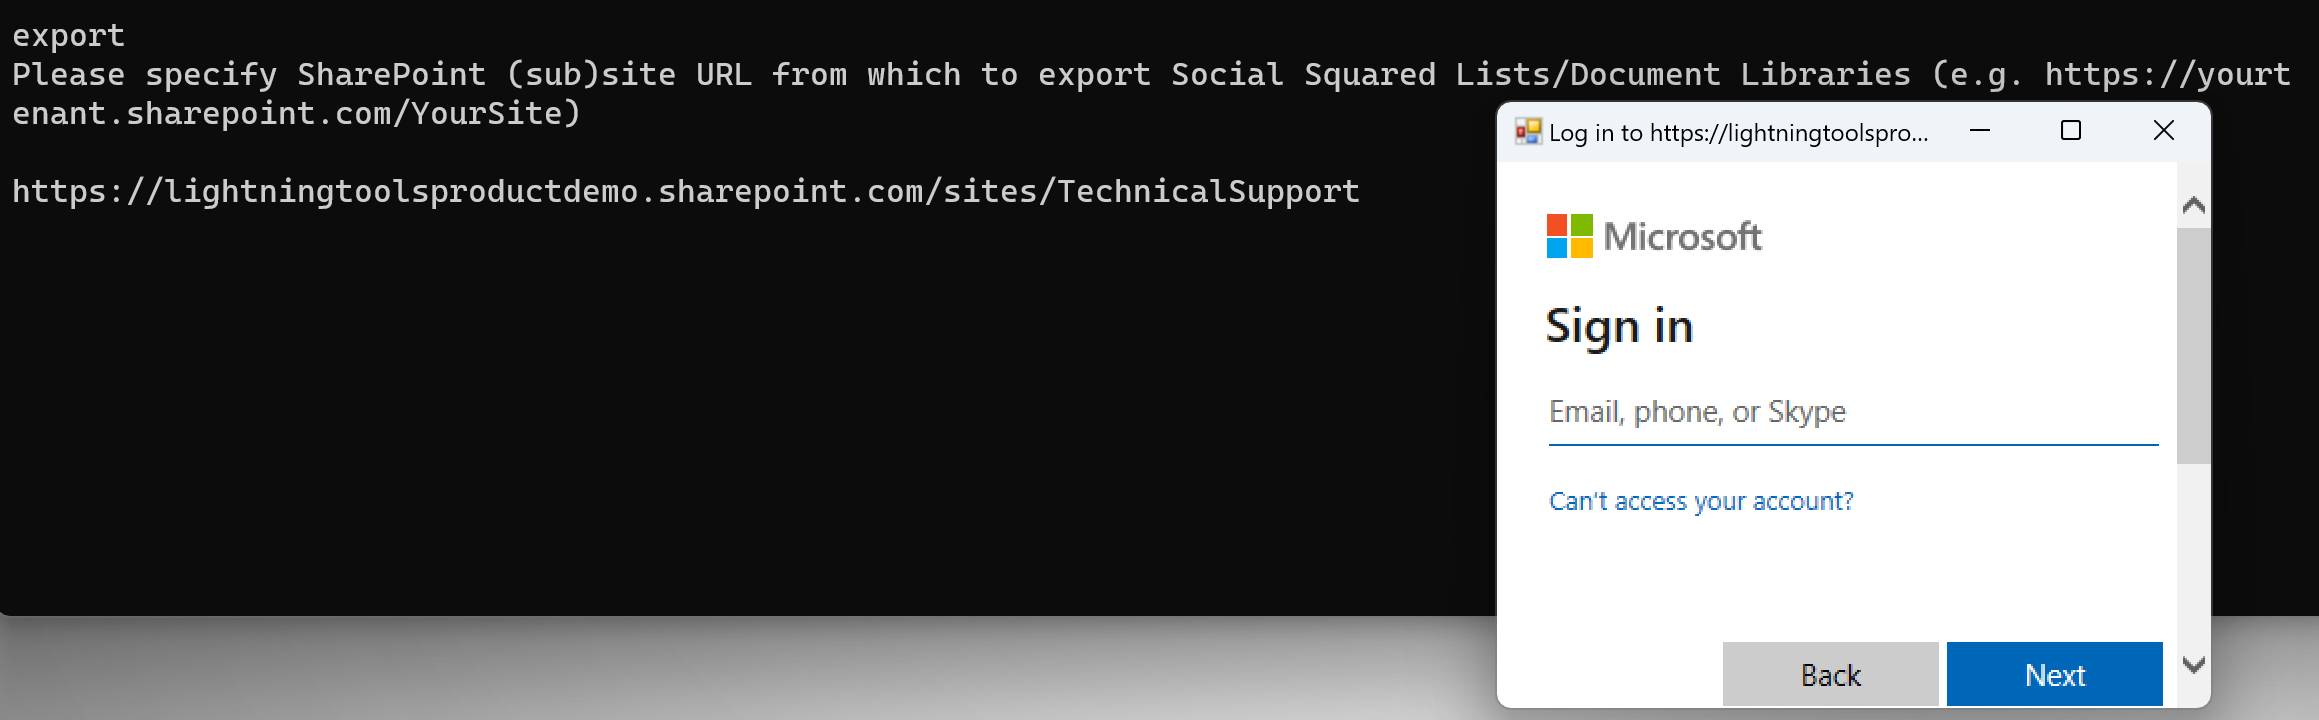
Type export at the cursor. You will be prompted for the source site URL, and then a Microsoft login dialog will pop up. Enter the credentials of an account that has Full Control permission to the source site. Note that if your M365 tenant has multi-factor authentication (MFA) enabled, you may be required to enter a text message code or use the Authenticator app to authenticate your account. Also note that if your browser security is set to High, the authentication dialog will likely not work, so you may need to temporarily change your browser security setting to Medium-high.
You should then see export progress messages scrolling past: e.g. Retrieving SS_Topics... xx Topics retrieved so far. And then a Success message at the end. Note that you might see some messages about some user accounts, for example if they no longer belong to the source site, or if there are duplicate user display names. You may need to handle some scenarios like that during the Mapping step.
During the export, an output folder is created within the migration folder. It will contain a socialsquared.json file as well as files from list attachments and document libraries.
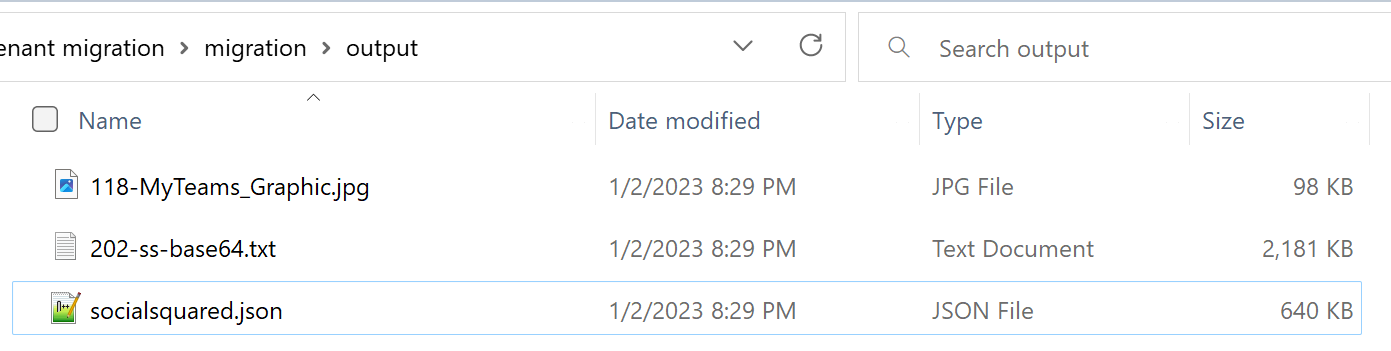
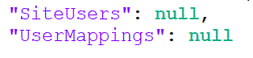
If you open the socialsquared.json file, you will see a section for Users, and then your forum structure and content. At the end of the file, there will be empty SiteUsers and UserMappings sections; these will be generated in subsequent steps.
Step 2: Retrieve user information from the destination location
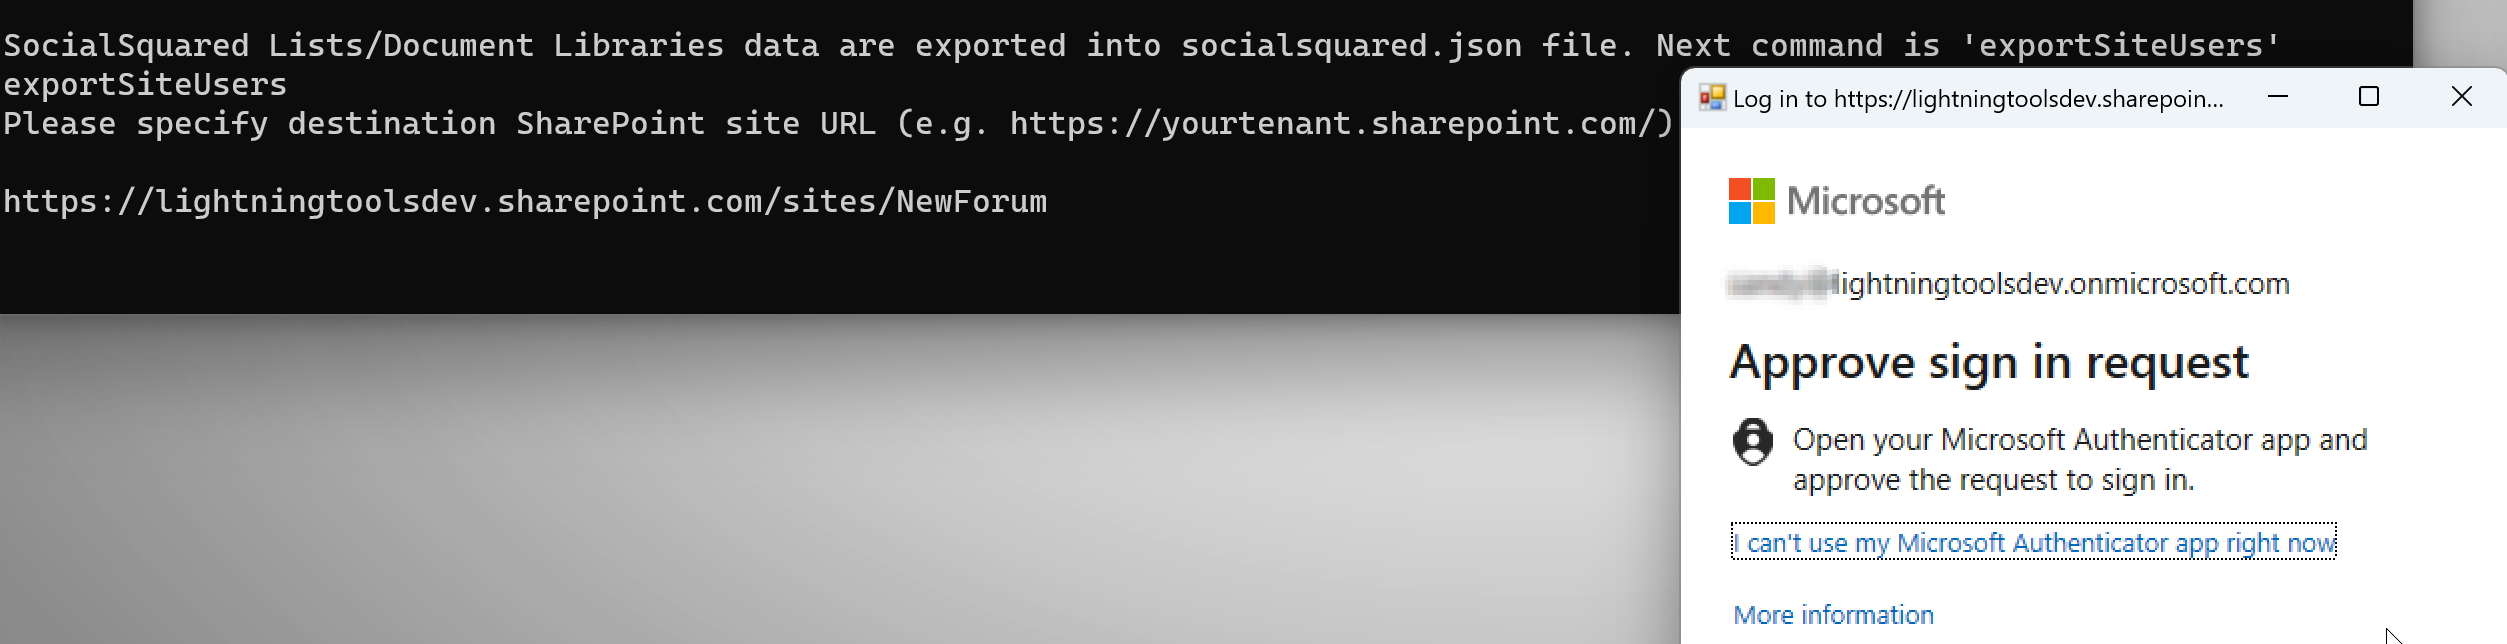
The next command to run in the SocialSquaredListsMigration application is exportSiteUsers. This will retrieve the users that exist in the destination site, so that you can then map them to the users already retrieved from the source site.
Type exportSiteUsers (this is not case-sensitive), specify the destination site URL (https://YourTargetTenant.sharepoint.com/sites/YourTargetSite), and as before, a Microsoft login dialog will pop up. Enter the credentials of an account that has Full Control permission to the target site. Note that if your M365 tenant has multi-factor authentication (MFA) enabled, you may be required to enter a code sent via text message (SMS) or to use the Authenticator app to authenticate your account, as shown in the example below. After you authenticate once to the destination location, then when you run subsequent commands, your credentials will be saved and you shouldn't need to re-authenticate. Note that this means that if you decide to use a different account, you may need to clear your browser cookies so the authentication dialog will reappear.
You should see the user accounts being retrieved in the console. This step generates a log file in the output folder called Siteusers.txt in case you need it for troubleshooting. It also adds the users to the SiteUsers section near the end of the socialsquared.json file.
Step 3: Map user accounts
Next, you will double-click on the other application you'll find in the migration folder: UserMapping.exe.
This will open a Windows app that allows you to map users from your source location to users in your destination location. Note that all Source accounts must be mapped to some Destination account. If there are previous users who will not have an account in the new location, you can map them to some admin or service account that exists in the new location.
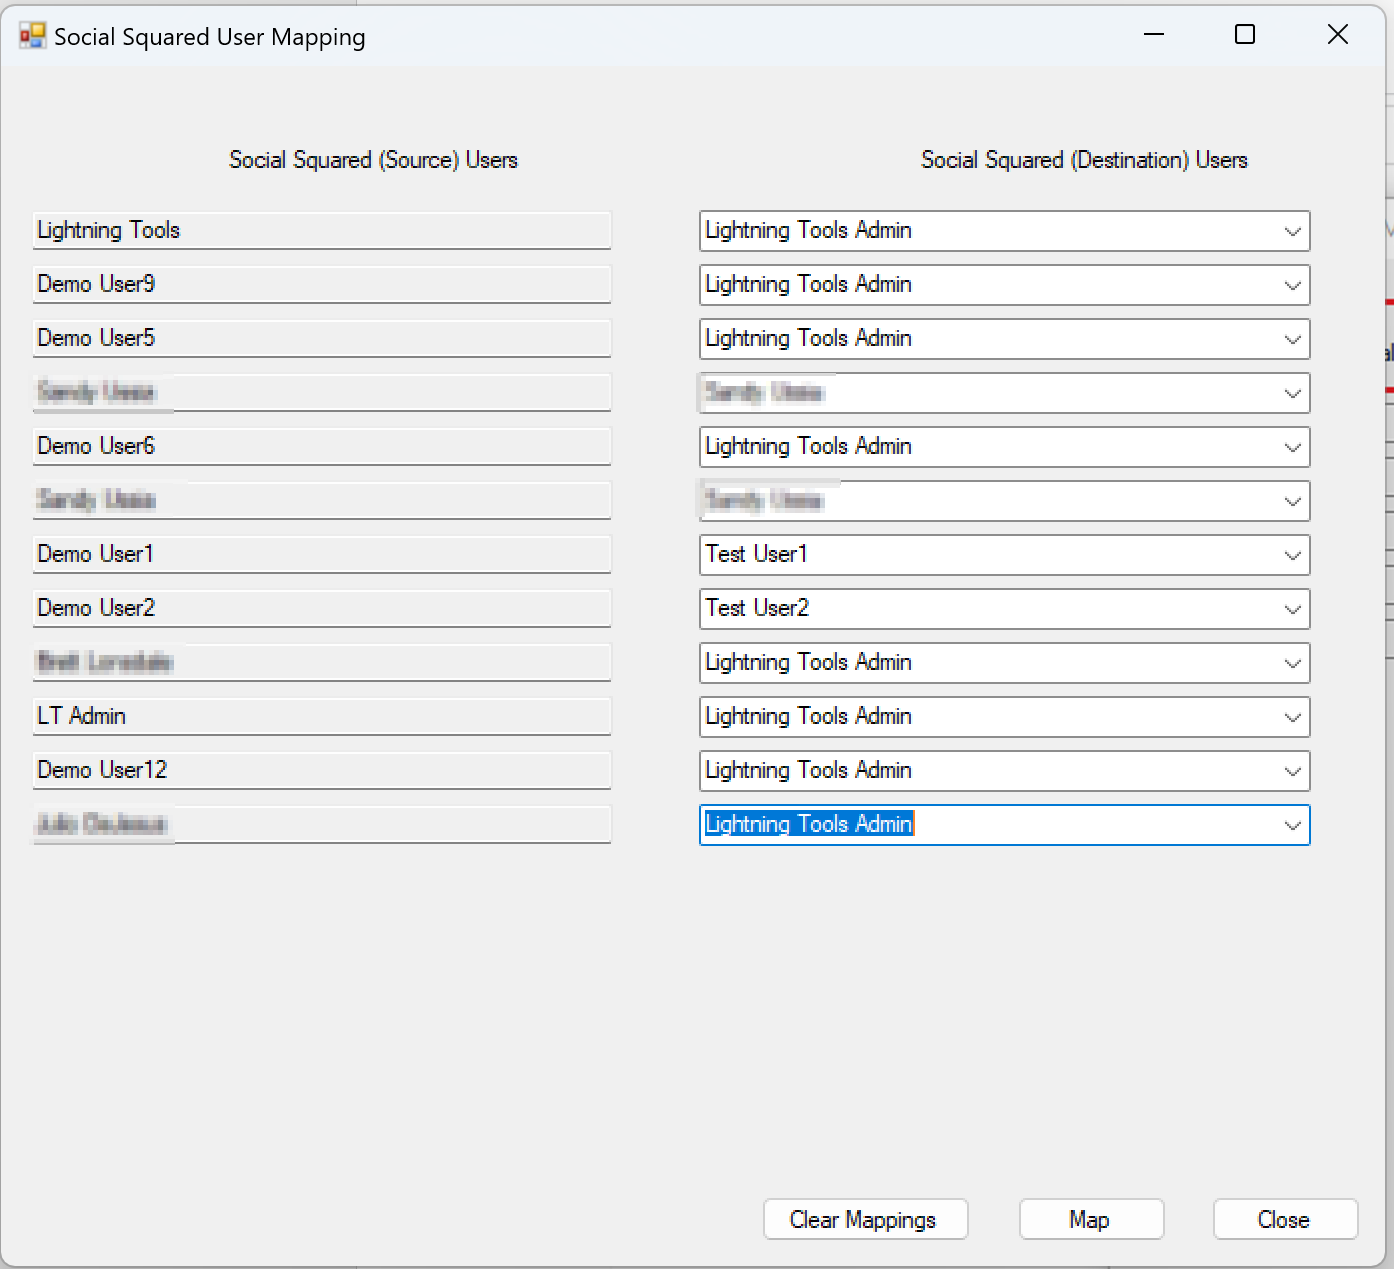
After setting the mappings, click the Map button. You should see a message that says "Successfully saved". Click Close.
You should now see in the socialsquared.json file that the UserMappings section at the end is filled in.
Step 4: Import content to the destination location
Re-run the SocialSquaredListsMigration.exe application if you had previously closed it. Next, type import at the cursor, which again prompts you for the destination site URL and authenticates you as before. There is a confirmation step to warn you that any Social Squared content you may have already had on this destination site will be overwritten by the imported content. Please be sure you have entered the correct URL for your destination location.

You should see a series of entries that show the Social Squared lists being created, fields being added to them, and then all of the content, tags, subscriptions, etc being inserted. Note that if any posts had been made anonymously, they will still be anonymous in the new location.
At the end you should see a message that says: "Successfully imported. You can close the console app."
Migration complete!
You can now add a Social Squared web part to a modern page in your destination location, and it should contain all of the migrated content.
If you have any trouble with this process, please contact Lightning Tools Support.
Published January 30, 2023