Our Social Squared server-to-online migration tool can be downloaded from our website here.
The Lightning Tools Social Squared Migration tool allows you to migrate Social Squared database content into Social Squared client-side web part SharePoint lists.
Copy the Social Squared Migration [version].zip folder to the SQL server where the Social Squared SQL database resides, or to some machine that has access to that SQL server and also to the internet (to access SharePoint Online). This should not be a SharePoint server.
Extract the files from the zip folder.
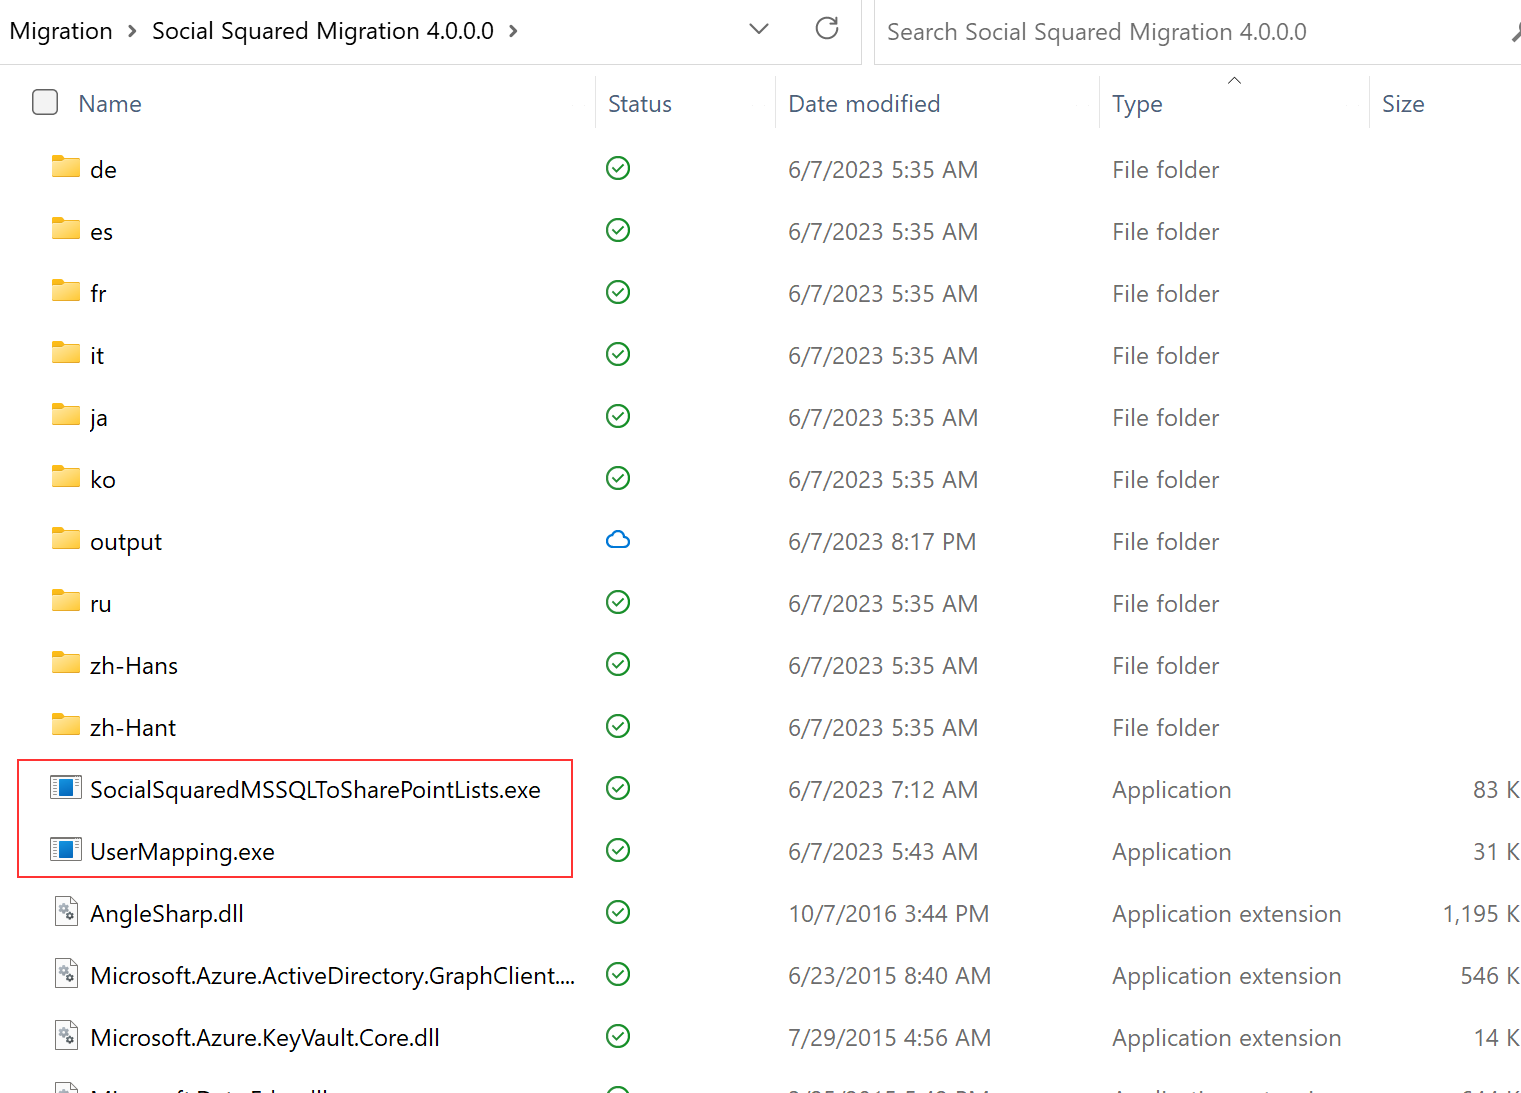
The package contains two executable files to be used during this migration process. The various SocialSquared dll files are from the Social Squared WSP package, and provide information needed for the migration since it is not being done on the SharePoint server.
1. Export Social Squared SQL content
Run SocialSquaredMSSQLToSharePointLists.exe

Type export into the console app. You are prompted for the Social Squared SQL database connection string, in the following format:
Server=YourSQLserver;database=YourSocialSquaredDatabaseName;User Id=YourSQLloginName; password=YourPassword
Example:
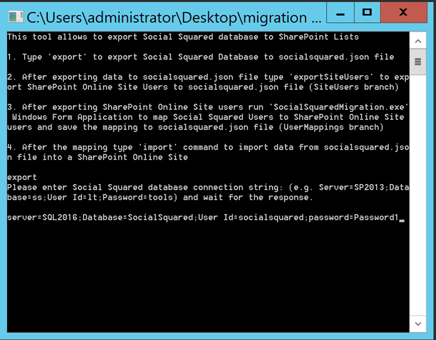
Press Enter.
You should see the message “Social Squared data are exported to socialsquared.json file”.
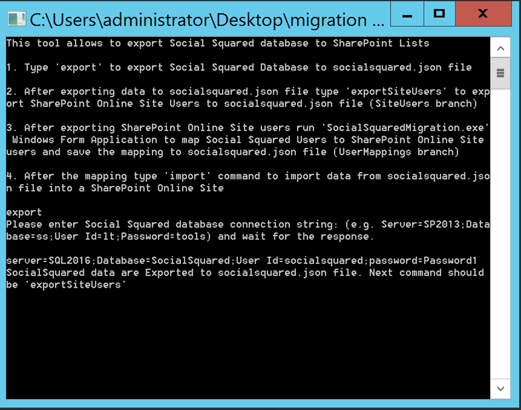
This json file is located in an output folder within the Social Squared Migration folder, along with any post attachments that are part of your existing Social Squared content.
The socialsquared.json file in the output folder contains all of the exported structure and content, except for users, which is the next step. If you open the json file to view the contents, at the very end you will see SiteUsers and UserMappings nodes, which are currently null. If you opened the json file to look at it, be sure to close it before the next step.
2. Retrieve SharePoint Online users
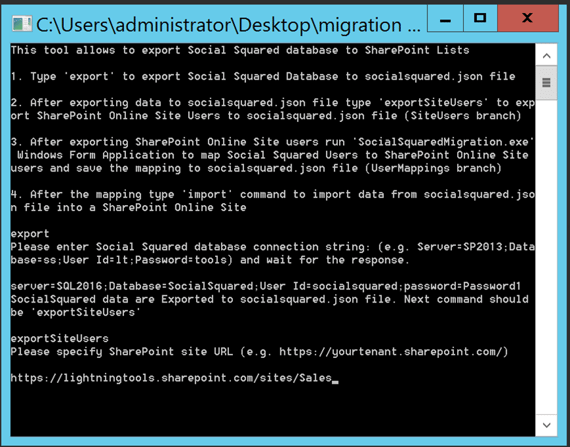
The second command to run within the console application is exportSiteUsers. This command retrieves SharePoint Online user accounts that have access to the SharePoint Online site where you wish to import the Social Squared forum content. You will be prompted for the URL of the target SharePoint Online site.
Example:
Next, you will be prompted for a username (email account) and then a password which has SharePoint administrator rights in the SharePoint Online tenant, and which is an owner or admin of the target SharePoint Online site.
Version 4.0.0.0+ of the migration tool supports Multifactor Authentication. Note that if your M365 tenant has multi-factor authentication (MFA) enabled, you may be required to enter a text message code or use the Authenticator app to authenticate your account. Also note that if your browser security is set to High, the authentication dialog will likely not work, so you may need to temporarily change your browser security setting to Medium-high. After you authenticate once to the destination location, then when you run subsequent commands, your credentials will be saved and you shouldn't need to re-authenticate. Note that this means that if you decide to use a different account, you may need to clear your browser cookies so the authentication dialog will reappear.
Press Enter after entering the password.
After a few moments, you should see a Getting Users message, and then you should see entries related to SharePoint Online users scrolling within the console. Accounts without email addresses (e.g. system accounts) will be noted as skipped. When the process is completed, you should see the message: “SharePoint Online Site Users are exported to socialsquared.json file”.
If you open the json file now, you should see that the SiteUsers node at the end now contains the user accounts for the site you entered. In addition, a siteusers.txt file has been added to the output folder, which contains a log of the exportSiteUsers step.
3. Mapping Users
The next step requires the use of the second executable file from the zip folder.
NOTE: If you have a large number of user accounts in your on-prem instance of Social Squared (for example, hundreds of users in the User table in the Social Squared SQL database), this UserMapping tool may be too cumbersome to use. In that scenario, we can provide instructions for a method using Microsoft Power Automate and Excel that may be a bit easier to work with. Contact help@lightningtools.com for details.
Run UserMapping.exe
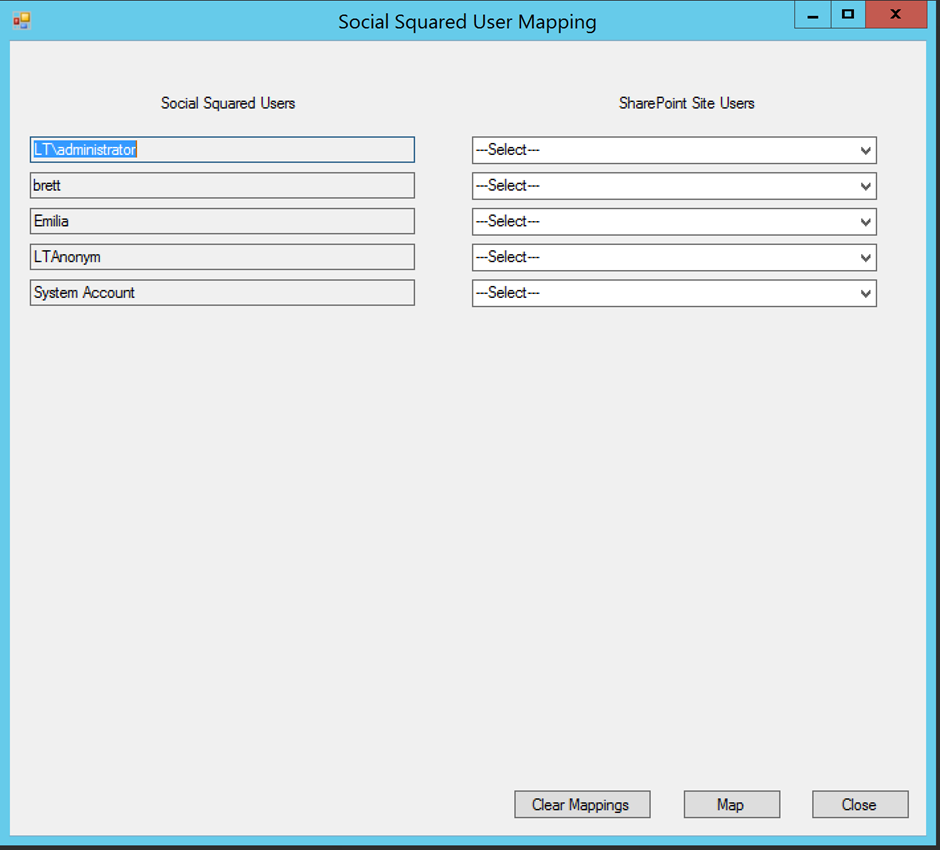
The Social Squared Users column should automatically be populated with the entries from the Users table in the Social Squared SQL database. It should show all users who had ever visited your on-prem forum, plus an LTAnonym account, which was used by Social Squared for the case where you may have configured anonymous posting.
The next step is to map each account in the Social Squared Users column with an account in the SharePoint Site Users column. The SharePoint Online site users should automatically be populated in each dropdown, to select from. You can map more than one Social Squared (on-prem) User to each SharePoint (Online) Site User, if you wish. There will not be an LTAnonym account in SharePoint Online (as there is no anonymous access), so you can map this to any account you wish – but it must be mapped.
When done, click the Map button. You should see a message that says the mappings were successful:
The UserMappings node in the socialsquared.json file is generated after mapping users. The Social Squared client-side web part app will read the UserMappings mapping. You can modify the user mapping whenever you wish.
4. Import to SharePoint Online
NOTE: Before performing this import step, the latest version of the Social Squared client-side web part must be installed successfully in your SharePoint Online tenant app catalog (or, if you wish to only make it available in a certain site, it can be installed in a site collection app catalog). However, do not yet add a Social Squared web part to the site where you wish to use it, as doing that will create empty Social Squared lists; this migration process will create those lists for you.
The final step takes place again in the first application (SocialSquaredMSSQLToSharePointLists). Type import and press Return.
You will be prompted for the full SharePoint Online site URL where you wish Social Squared to be used. When prompted, enter credentials for an account which has the SharePoint permission to create lists.
In a moment, you should see messages scrolling in the console application about lists being created and content being inserted.
When complete, you should see the message: “Successfully imported”
Navigate to the Site Contents page of the SharePoint Online site to which you migrated Social Squared content. You should see a number of lists beginning with SS_ and containing content items.
Navigate to the page on this SharePoint Online site where you wish users to participate in the forum. Edit the page. Use the modern web part toolbox to add a Social Squared web part.
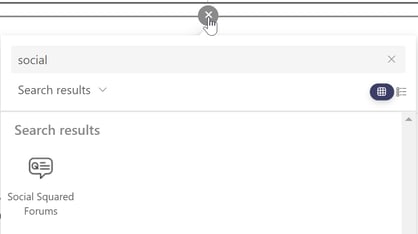
The Social Squared web part should appear, containing your migrated content. Publish the SharePoint page.
Social Squared is now ready to use.
Published Dec 5, 2022
Updated Jun 7, 2023 to include information about MFA support.