If you are a current Lightning Tools client using the Lightning Conductor farm solution (WSP) for SharePoint Server, you can use our migration tool to migrate your existing Lightning Conductor Web Part configurations to the modern Lightning Conductor client-side SPFx web part in SharePoint Online.
The tool will detect Lightning Conductor instances on pages in your SharePoint Server environment (within a specified scope), convert the configurations from XML format to JSON format, and instantiate configured Lightning Conductor SPFx web parts on mapped pages in your SharePoint Online tenant.
Prerequisites
- Lightning Conductor WSP web part (2013 or 2016/2019 latest version) installed and deployed on your SharePoint Server farm.
- Lightning Conductor SPFx client-side web part (latest version) installed and deployed to all sites (or all necessary sites) on your SharePoint Online tenant. NOTE: You will need to contact your Lightning Tools account manager to obtain a Lightning Conductor license for SharePoint Online.
- The Lightning Tools Lightning Conductor Migrator tool, available here.
Installation
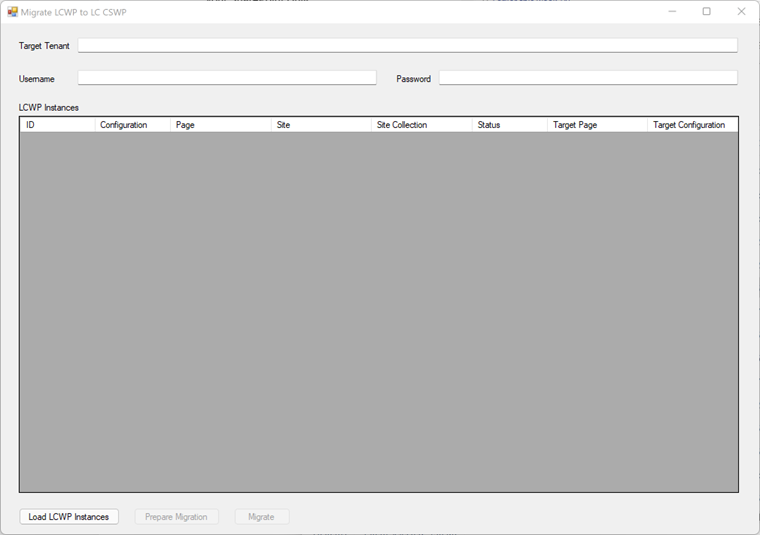
The LC Migration yymm.zip file contains a single folder (LC Migrator) which can be extracted anywhere on one of your SharePoint servers. From that folder, run the LCMigration.exe application, which opens the following window:
Migration
The migration of Lightning Conductor Web Part (LCWP) instances to Lightning Conductor Client-side Web Part (LC CSWP) instances consists of three phases, as described below.
Phase 1: Load LCWP instances from SharePoint on-prem page/site/site collection
NOTE: You will need to be logged on to your SharePoint server with an account that has at least Read permission to all mapped objects (sites, lists etc.) in order to retrieve information from them.
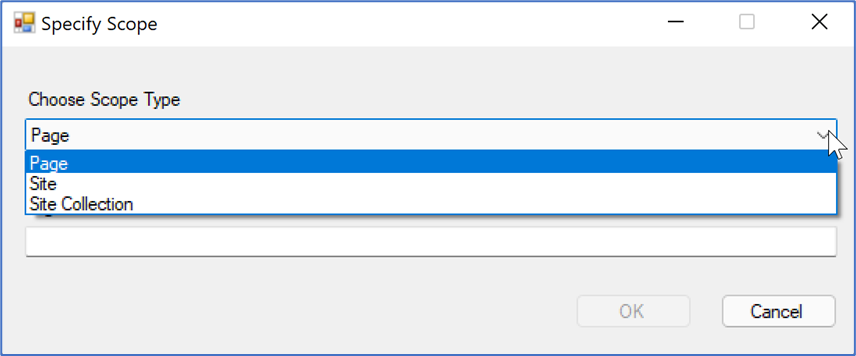
This step is performed at any time by clicking on the Load LCWP instances button in the lower left of the window. Select the scope from which you wish the migration tool to detect LCWP instances.
Next, specify the URL of the page/site/site collection from which to load LCWP instances. Note that when the search scope is site or site collection, the tool searches for LCWP instances in libraries of type “Wiki Page Library”.
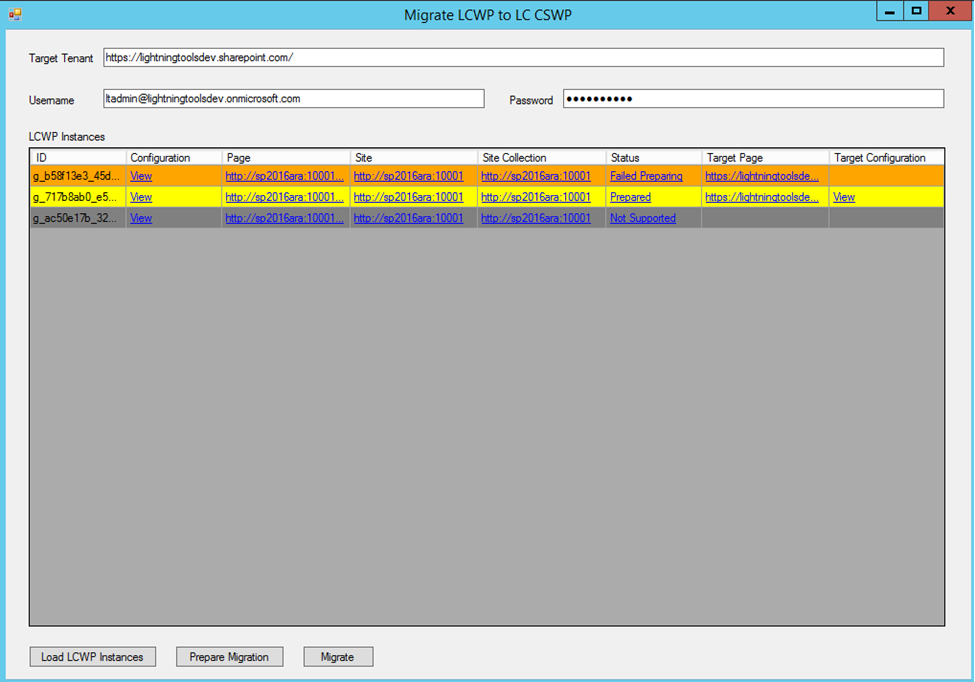
You can then see the loaded LCWP instances in the grid view. Here you can remove unneeded LCWP instances by clicking on that entry (its ID column will be highlighted) and pressing the Delete button on your keyboard. You can also remove multiple rows by using Shift-click.
NOTE: As of the July 2022 update, you can export the list of LCWP instances to a CSV file at this point, if you need to share the list with others to make decisions about migration. The CSV file will include for each instance: Page Url, Site Url, Site Collection Url, and Migration Status.
If an LCWP instance cannot be migrated, then the status of that entry is “Not Supported”. There are several reasons why migration might be unsupported for a LCWP instance:
- The source LCWP instance has an empty configuration (i.e. it was never configured), or the source LCWP has missing configurations for Columns, Data Source Provider, or Display Provider.
- The source LCWP configuration contains a filter that uses “Contains All/Contains Any” comparison operators. This filter operator is not available in the LC CSWP.
- The source LCWP configuration uses a display provider other than Grid View. While the LC CSWP does support XSL display formats, the XSL file would need to be modified.
- Caching is enabled for the source LCWP instance. There is no caching feature in the LC CSWP.
- The source LCWP has Web Application as its rollup scope. This scope is not relevant in SharePoint Online.
- Some of the source LCWP columns are calculated columns. Calculated columns are supported in the LC CSWP, but the syntax is different.
Another unsupported case is when web part connections are used. Here, the tool will migrate the LCWP instance, but everything related to web part connections will be ignored. Note that the LC CSWP does support Dynamic Data connections on modern SharePoint pages in SharePoint Online, but in a different way, and only to our own web parts.
Phase 2: Automatically map page URLs/site collection/site/list ids from the on-prem environment to the SharePoint Online environment.
This is performed by clicking on the Prepare Migration button in the lower left. For this stage, you must fill in Target Tenant, Username, and Password fields in order for the tool to connect to SharePoint Online. The login account will need to have at least Edit permission on the page/s to which you wish to migrate the Lightning Conductor instances. Target Tenant is the URL of the target tenant root site collection (e.g. https://lightningtoolsdev.sharepoint.com/). The March 2023 update includes support for SharePoint Online tenants that are using Multi-Factor Authentication.
After the process is complete, for each LCWP instance you can see a mapping status and also the target page URL, on which the target LC CSWP will be created. The URLs are created based on the relative URLs in your source LCWP configuration, so the tool assumes the same structure in your SharePoint Online environment. You can modify the mapping by clicking inside the Status column. You can do this if the mapping partially failed, or if you want to modify the automatically created mapping (e.g. you want to change the target page URL). In the mapping dialog, you will see a grid view showing all mappings; you can modify any mapping by clicking on the content of the Status column.

Phase 3: Migration
In this phase, the migration tool creates target LC CSWP instances in the mapped pages (these can be modern pages or classic web part/wiki pages). Initiate this phase by clicking on the Migrate button at the bottom of the window. Only the rows will be migrated whose status is Prepared (yellow), that is, where all the necessary IDs have been correctly mapped.
Published Mar 20, 2023
Updated Apr 19, 2023 - note about MFA